|
Only fools
will goģ step 8 ¢ Details, more Details. In the
last installment I got carried away with my case work and forgot to show how
the movement has turned out, the part of which I am most proud of right now.
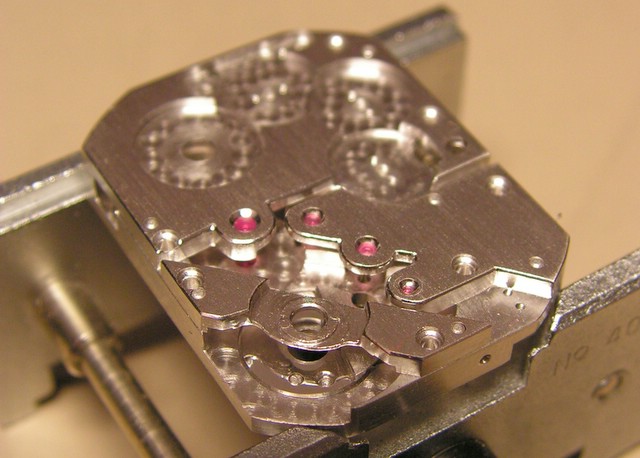
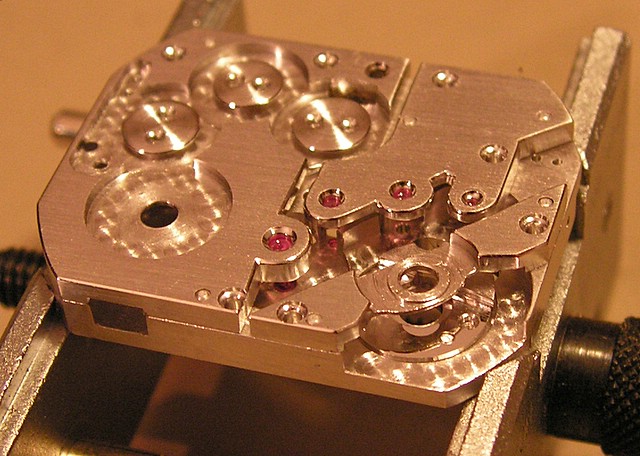
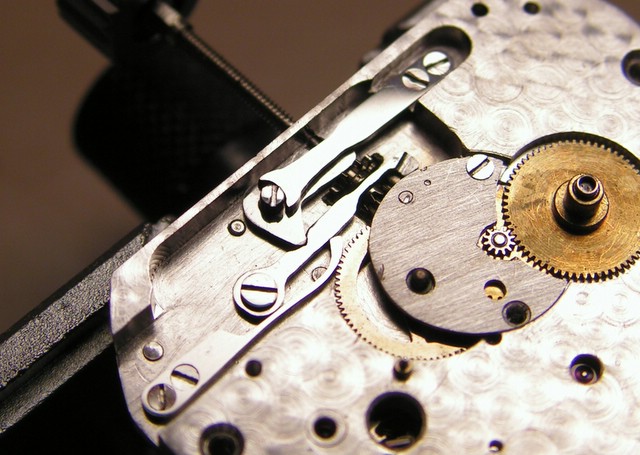
Here is the first picture of the movement back from rhodium plating. It takes my breath away, and you?
Look at how the jewels just jump out at you sitting as they are now in
mirror polished recesses.Ā The beveling
accentuates the form of the plates.Ā
Gives them depth, soul and a heart.Ā
I am convinced.Ā I had always
thought that this Swiss infatuation with perfect finishing was just
superficial prettiness.Ā It is
more.Ā It is more than just knowing the
amount of time that some dedicated craftsman spent to do the work.Ā It adds light and form.Ā The movement becomes more than a tiny
machine.Ā The reflections on the
bridges form the fixed stars that make the framework in which the wheels and
pinions, the planets, make their slow march forward.Ā Each at its own rate, following the laws of
the heavens.Ā I find the transformation
from a practical, good working movement to a beautifully finished timekeeping
machine to be magical.Ā Decide for
yourself. Ā
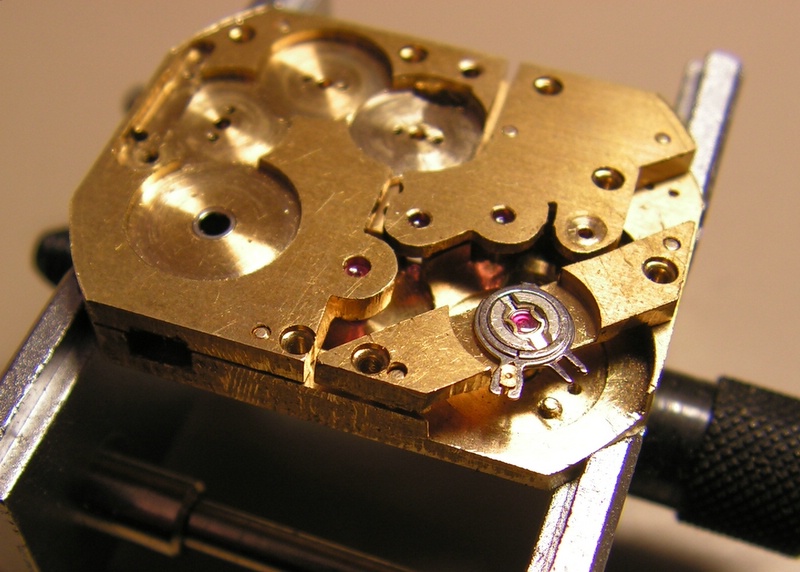
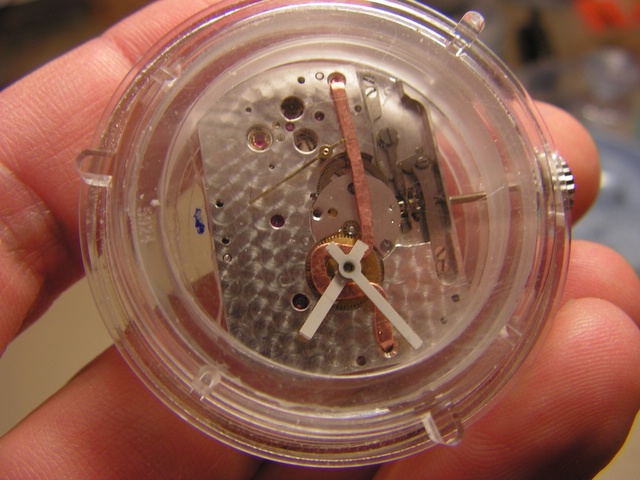
Here is
a view of case and movement that will never be seen once the watch is
assembled. The copper wire is doing the work of the dial to hold the motion
works. And those are just some working hands stolen off a Swatch automatic
that wasnÆt watching out as it wondered across my workbench. I have been
carrying the movement with me in a plastic movement holder modified for my
movement. In my pocket for a couple of weeks now to see how it reacts to being
carried around and shocks, etc., it doesnÆt seem to be bothered much. It just
keeps telling the time to about +3 to +5 seconds a day.
With
that said, the case work continues. More polishing, getting ready for
engraving. I realize that I was too quick with plating the movement, there is
not a single indication on it, no name, number of jewels, nothing. But it is
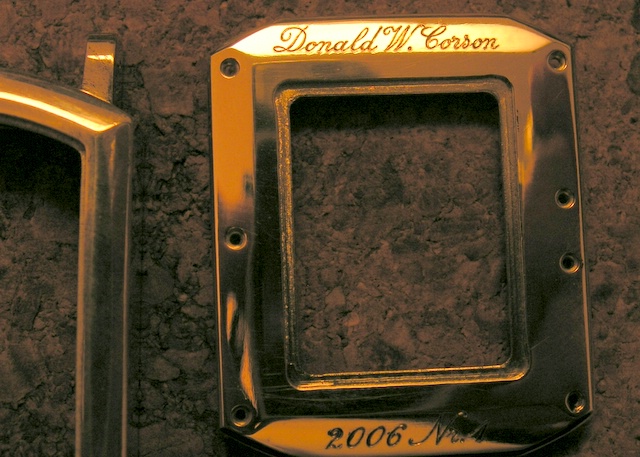
going to stay that way. For the case, however, I want to do it right. No
engraving by machine at the jewelers, machine enforced uniformity. I choose
hand engraving by an artisan. Can you believe that those letters could be
done so perfectly without being guided by a machine? Well they can. Hand
engraved on the case back, name, year and Nr.1. No, I didnÆt even attempt to
do that myself. Credit where credit is due. I would spend the rest of my life
practicing and still not be that good. This is the work of Mr. Frķdķric
Digier of NeuchŌtel. There is not a single machine tool in his atelier.
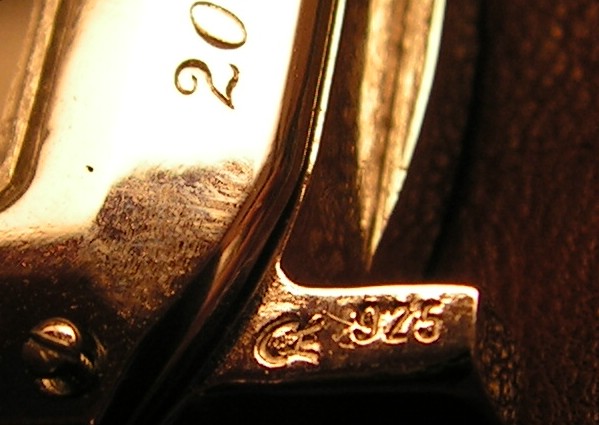
This
watch will never be sold, but I had the assayers mark put on the case anyway.
With
that done the case goes off to be anti-tarnish plated. Three layer plating to
ensure good adhesion, white gold, palladium, rhodium. This is how the best
silver jewellery is treated too. It is
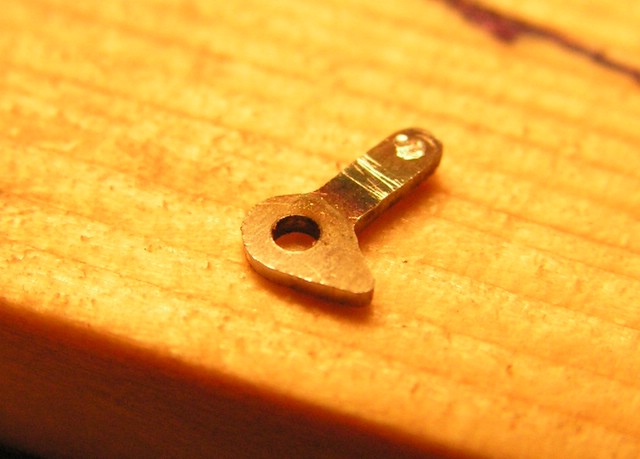
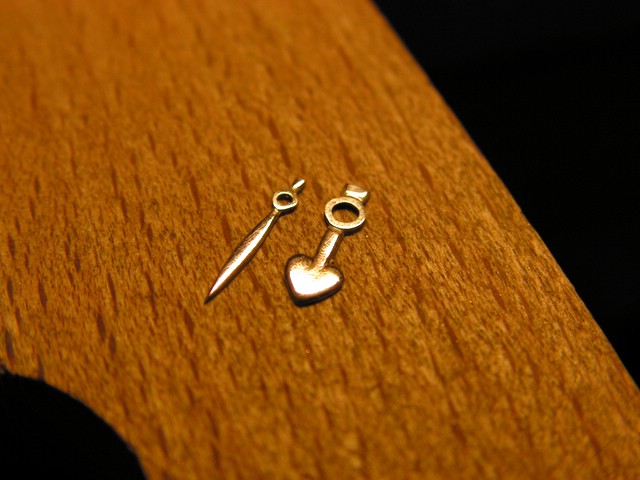
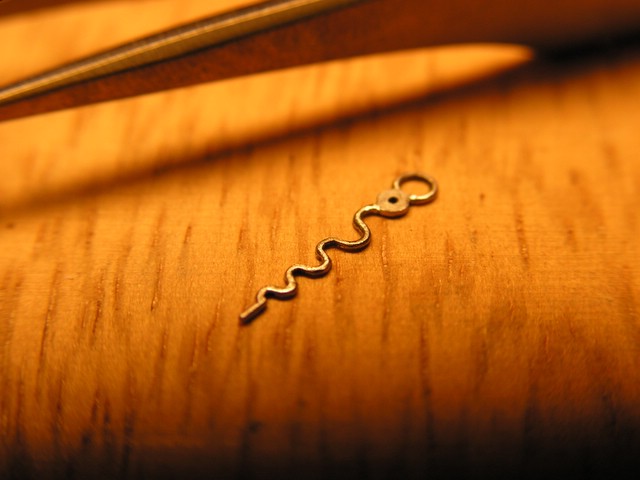
now time to worry about the different steel pieces of the setting mechanism.
I certainly canÆt leave them looking like this first picture below, for
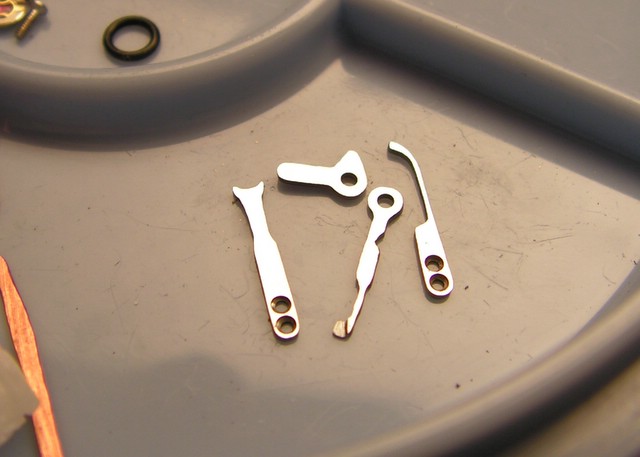
example. I used lapping film down to 1u to get the pieces looking like this
second picture:
I know
you are all wrinkling your collective noses at those screw heads and ugly
messed up screw slots. Rest assured that at the final assembly those screws
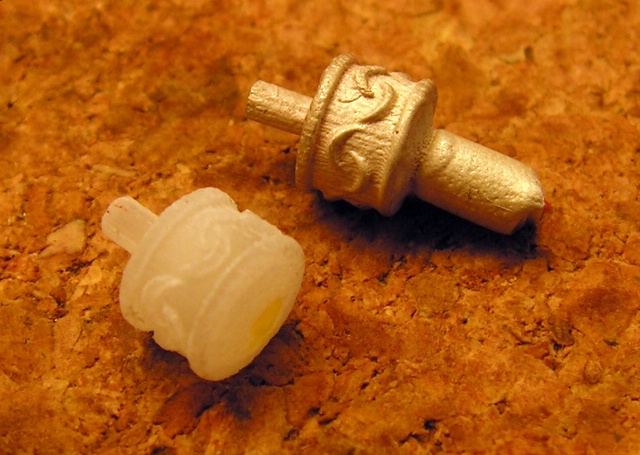
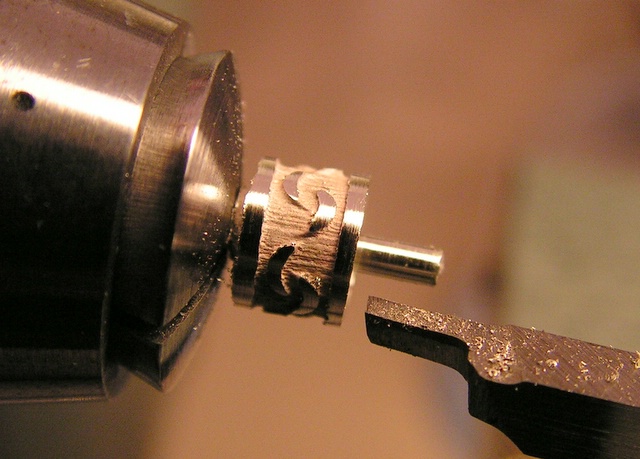
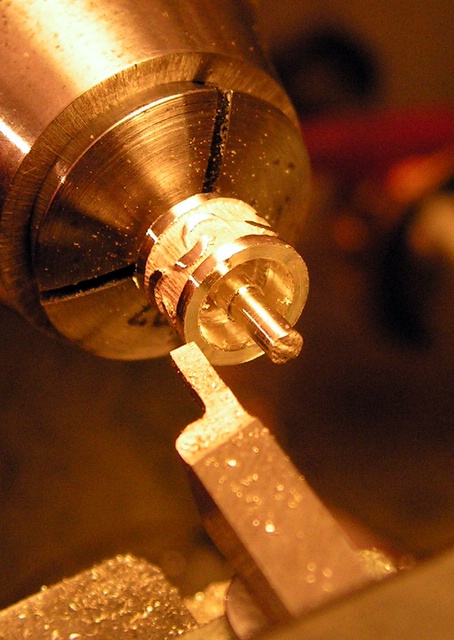
will all be replaced with pristine new ones. Now
back to the case, I still donÆt have a crown. From my CAD design I again had
a model made by stereo lithography and had it cast in silver. Below the model
and the casting can be seen along with the casting chucked up in the lathe to
be cleaned up. This is to be a sort of bas-relief crown. The crescent moons
to be polished and the background to remain rough.
An
important property of the crown is to keep dust and water out of the case. To
this end they are equipped with an o-ring that turns on the tube installed in
the case. In order to give myself a chance for error I made the o-ring
carrier in the crown as a sleeve in brass that I will press into the crown.
Although or maybe because it is very soft, silver is not that easy to work.
It has a tendency to tear instead of cutting, which can be seen on the edges
of the crescents above. It is also hard on drill bits. I broke a bit when
drilling the whole for the stem, but it dissolved out pretty easily in an
acid solution of jewellerÆs pickle. When I thread that hole I will be
watching very carefully to not break the tap. I will break one tap on purpose
æthough. As the friction between the flat end of the stem and the bottom of
the hole is a non-negligible portion of the force preventing the crown from
unscrewing I will break the pointed end off of a tap and grind it flat in
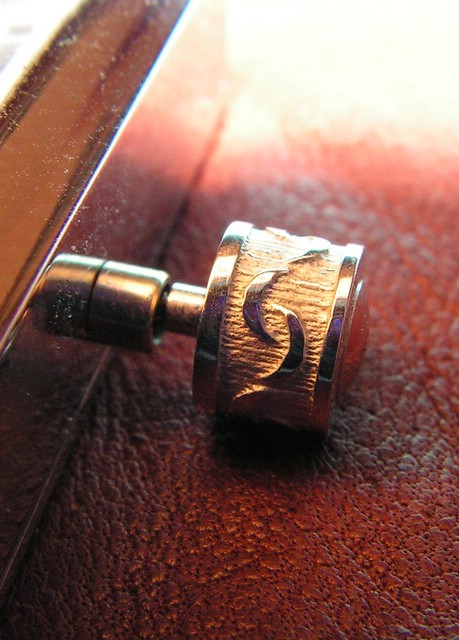
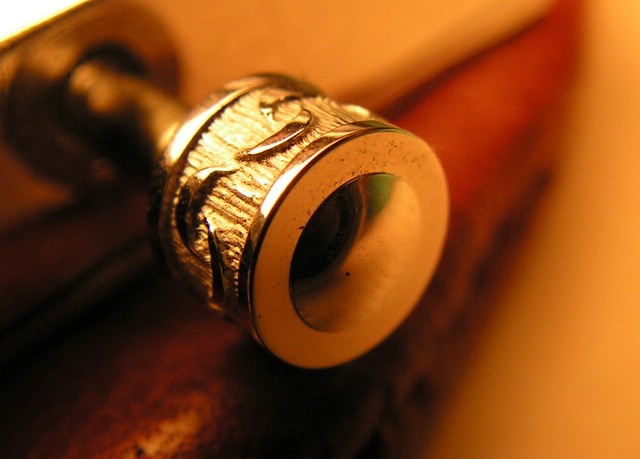
order to make threads down to the bottom of the hole. Finished,
polished and rhodium plated the crown looks really good (IMHO). I have not
cut the stem to length yet as I havenÆt finished the pieces that position the
movement in the case.
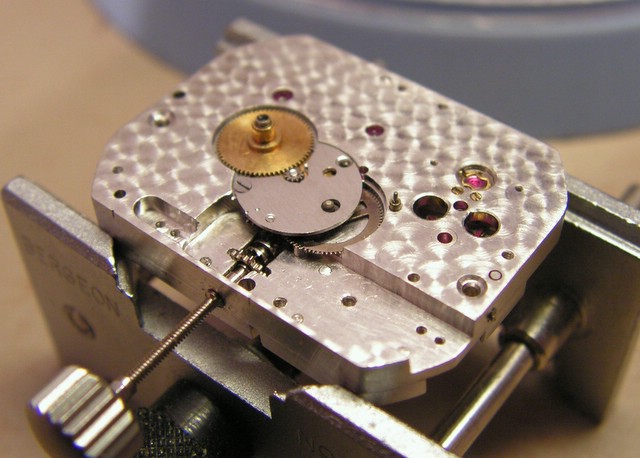
Now I
really only have the hands and the dial left to finish. The hands are already
well along towards being finished. They need only a little final polishing
and to be blued.
I
figured that considering the difference in thickness between the middle and
the edges of my hands it would be better to blue the hands in a temperature
controlled oven than over a flame. So I tried bluing several pieces of scrap
to find the correct temperature and found the perfect color at 318░. (It
looks to me like the thermometer on this oven has to be off by about 18░) But
when I tried putting the hands in for 10 minutes at this temperature they
came out uneven, spotty and pale. Upping the temperature a bit seemed to make
no difference. I didnÆt think to take a picture, but why should I take a
picture of what is not successful? So then
I tried bluing over an alcohol flame on a piece of brass to spread out the
heat and lo and behold I have beautiful deep full colors. Only problem, the
hands are not the same color.
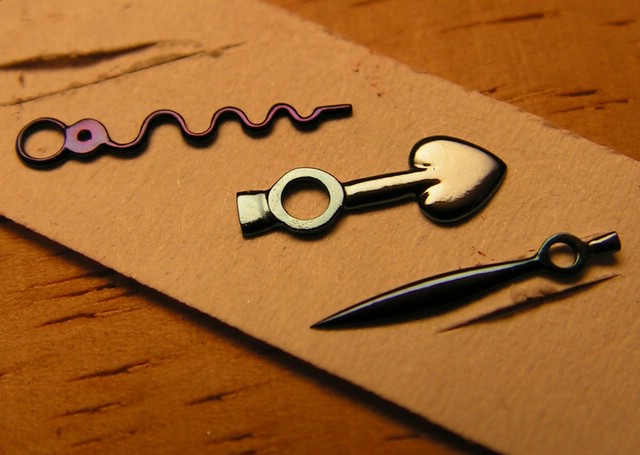
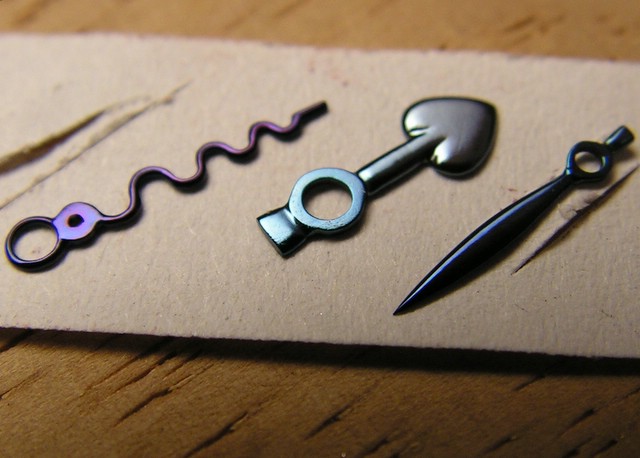
As we
can see the seconds hand is violet, was not warm enough, while the hours hand
is light blue, it got too warm. I think that the minutes hand looks just
right. So I will re-polish the seconds and hour hand and try again. It is
difficult to assess the color while the piece is over the flame. If you get
close for a good look you are in danger of scorching your eyebrows. In any
case flame bluing seems to work much better than bluing in an oven. Maybe
there is not enough convection in the oven to supply the oxygen needed. On
the other hand the scrap pieces blued pretty well. Maybe the polishing
somehow puts strains in the surface layer that affects the oxidation. I donÆt
have the answer. I have
had the crystals made, fitted and glued into the case. I didnÆt do this work
myself. To reduce the costs I decided to go for tempered mineral glass parts.
A simple flat round sapphire crystal is not expensive, choose any other shape
and the cost explodes. Making one piece in mineral glass is not dirt-cheap
either, but the costs are reasonable. Even a slightly curved front surface is
payable. I do not like flat crystals, they have straight-line reflections and
give the watch a hard and sterile face, I think. On the other hand a highly
rounded surface would not look good with the case design I have. So I had a
crystal made that is very, very slightly curved. Just enough so that the
reflections are not straight and hard. Perfect. Soon my
problems will be reduced to trying to decide what leather and color to pick
for the strap. First I must finish the hands and the dial æthough.Ā With two long weekends coming up, I hope I
will be done soon! Copyright ® 2006 Donald W.
Corson |


Ā