|
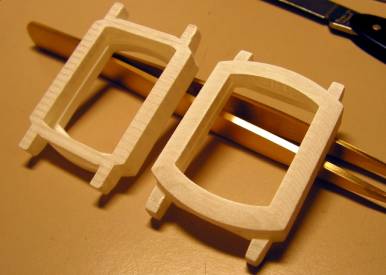
Only fools will go… step 7 - Case & Dial The
last installment finished with this image of the wax models for the case.
I was initially
wary of casting after hearing stories of the problems of uneven shrinkage and
air bubbles in the casting. But after talking to a local jeweler and the info
from others on this forum at TZ I decided to take the chance. I had wax
models made from my CAD files by stereo-lithography, 3.5% larger than the
fact to account for shrinkage, and took these to a local caster who does a
lot of jewelry work for casting in sterling silver. This is
what I received a couple of days later:
You can
see the rough surface that comes from the stereo-lithography. This makes a
lot of work to clean it up, but the process of stereo-lithography and lost
wax casting is quite inexpensive in comparison with having a case milled from
a block by CNC so for me that work is worth it. And yes there is uneven
shrinkage and yes there are air bubbles in the casting, but it is all very
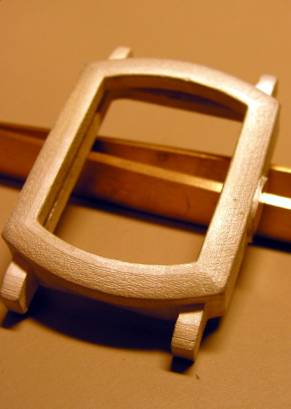
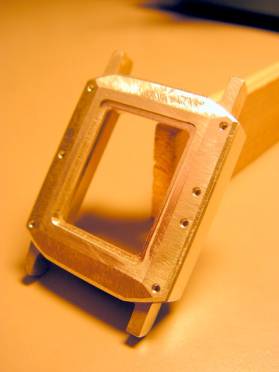
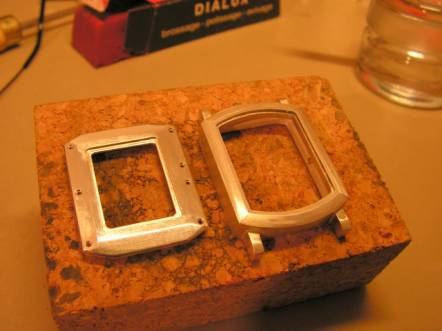
manageable. The
case back is also a lot of work. Here are some pictures showing the evolution
of the back from a piece of 1.5mm sterling silver stock to rough finished.
The cross pieces are to position the movement and strengthen the top and
bottom edges as I only have place for screws on the sides.
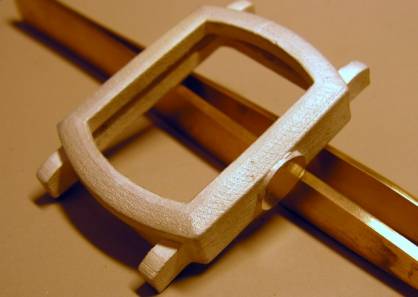
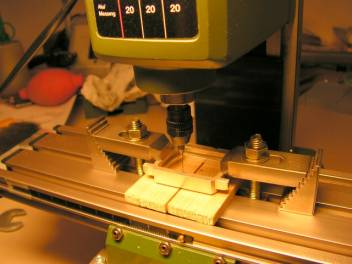
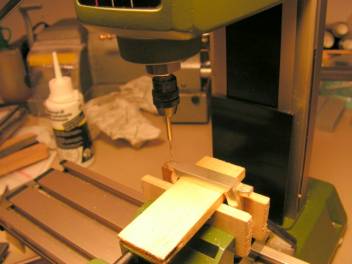
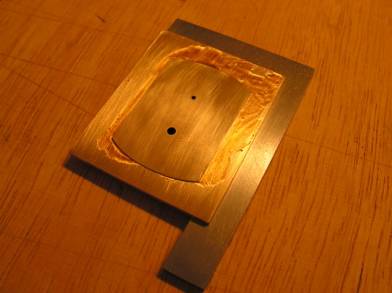
Now
some drilling of the case, for the back screws and the strap spring bars.
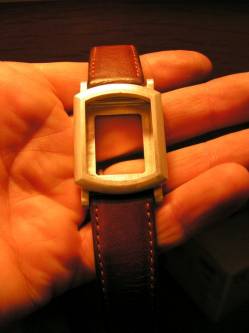
I just
can’t wait to put a strap on it and see how it looks.
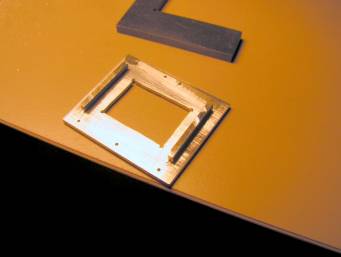
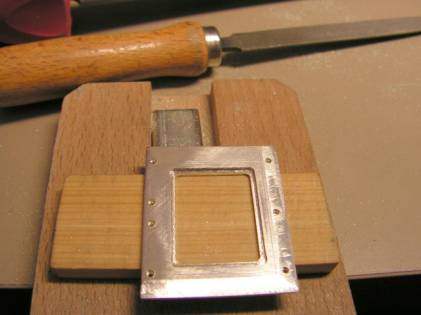
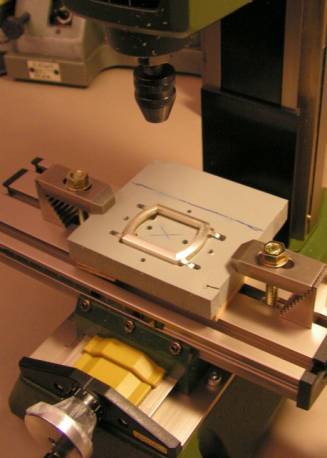
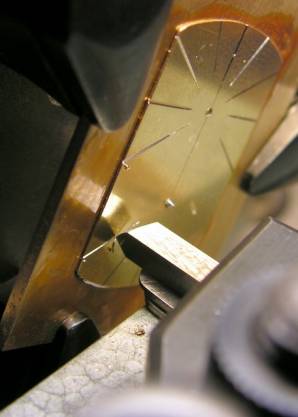
To mill
the opening for the front glass I made a jig to position the case and allow
rotation around the centers of the top and bottom radii. For the
straight sides I simply clamped the jig to the XY table. For the arcs the jig
is positioned by a brass axle and gently turned using a long handle to be
able to accurately control the position.
Then
comes polishing. Much more work than I expected. I first sanded to 600 grit,
then used a blue silicon polisher in the Proxxon tool followed by jewelers
rouge on a felt tool. I think that I will do a last step just before doing
the protective plating with diamantine on a soft buff. But even without that the
case shines really well. It is just about impossible to photograph ‘though,
either just blaring white or reflecting the dark environment.
The
Dial
I made this
dial in brass and then rhodium plated, but I am not satisfied with it. It is
too shiny. I think that I will make another in silver to replace this one and
finish it to a soft silvery white. But for the time being here are the steps
of making this first dial and the procedure will be the same for the silver
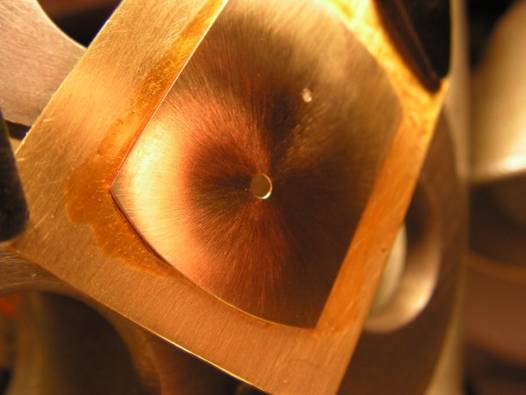
dial. I am
making the dial in 2 layers, a lower main dial and a second frame outside the
area of the hands, which makes a second higher level. The main dial I want
brushed radially from the two hand axles. The frame I will brush
concentrically and engrave radial marks for each hour. I showed adding the
dial feet to the dial already quite a while ago, which is the first step. I
then did a rough polishing to remove most of the scratches from the dial surface.
In retrospect I now see that this polishing was not enough. Under the right
light it is still possible to see some slight parallel graining under the
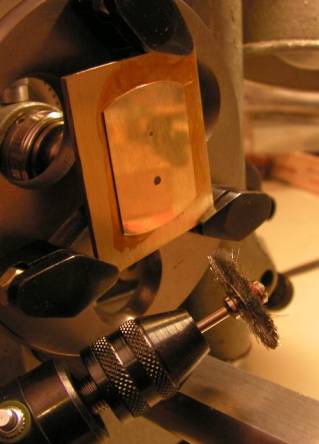
radial brushing. Here is
the main dial shellacked to a brass carrier with openings in the back for the
dial feet and to allow the positioning needle of the lathe through to the
dial itself for accurately positioning the dial. The brushing was done with a
steel brush in a Proxxon tool while the dial plate rotated slowly on the
lathe.
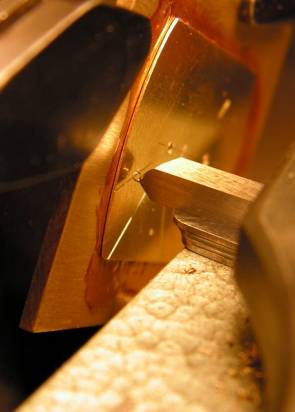
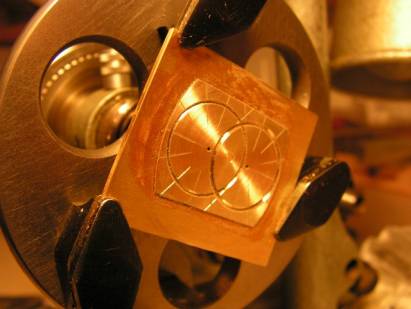
In
order to be certain that the radial hour marks on the frame dial are
positioned correctly I decided to make them on the lathe in a sort of
modified guilloche procedure. I placed a formed graver sideways on the
xy-carriage and cut by moving the graver to the front.
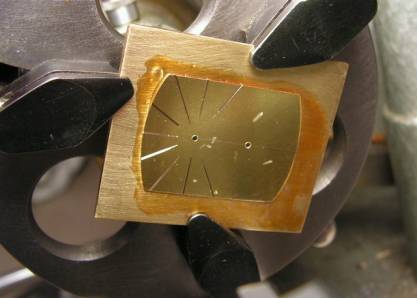
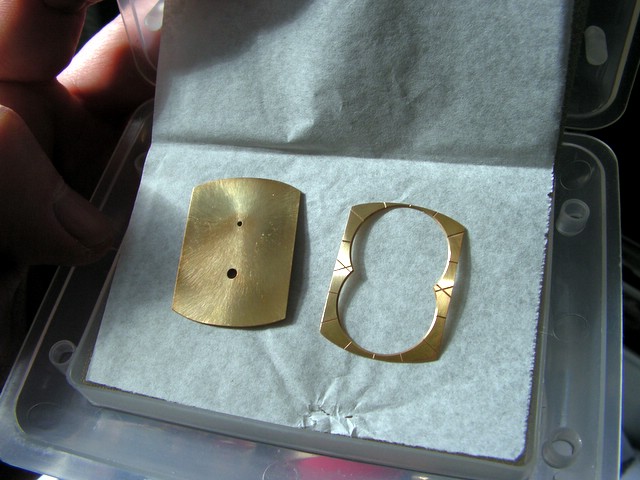
Finished
main dial and frame ready for plating.
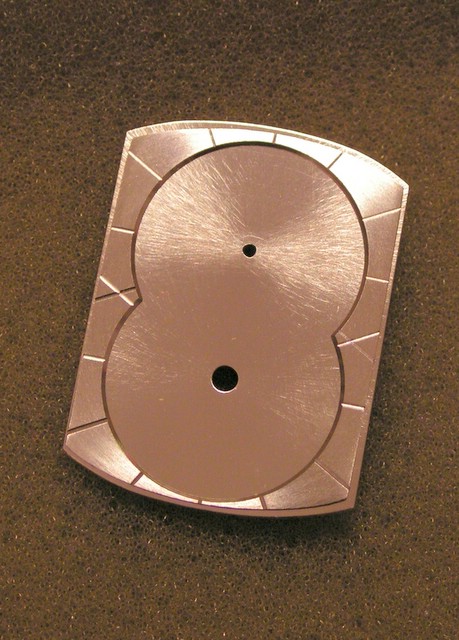
After
rhodium plating, too shiny for my taste, unfortunately.
The
decorated movement has now been running for a couple of weeks. I have been
carrying it around with me in a movement holder in my pocket all this time to
see how it holds up being moved around and with some shocks. It has been
running at +3 seconds a day all this time. Sometimes one has to be lucky I
guess. I haven’t touched the regulator even once since installing the
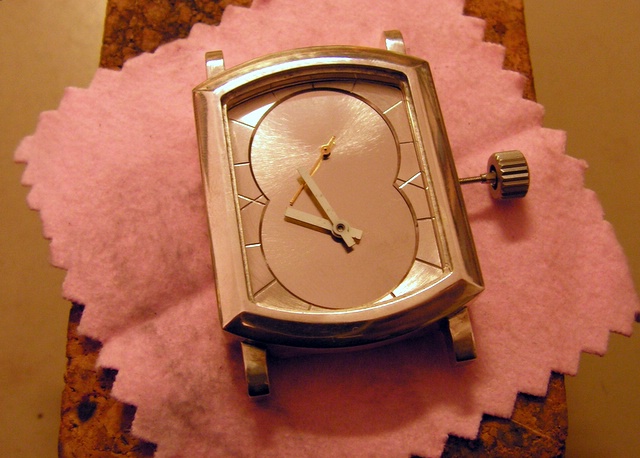
balance. And now
for a first look at the movement in the case, still waiting for me to finish
the hands and without the glasses front and back.
I hope
you have enjoyed this. Although it looks like I am just about done, there is
still lots to do to, finish the hands, steel movement parts need to be
finished, installing glasses, having case engraving done and last but not
least making a crown. Copyright © 2006 Donald W.
Corson |


If you are in Switzerland, come to a concert of the Orchestre d’Yverdon-les-Bains. Concert schedule on the website.