|
Only fools will go… step 6 -
Making it Pretty After all this work on the movement I
claim that it will work, now it is time move on to other things, to attend to
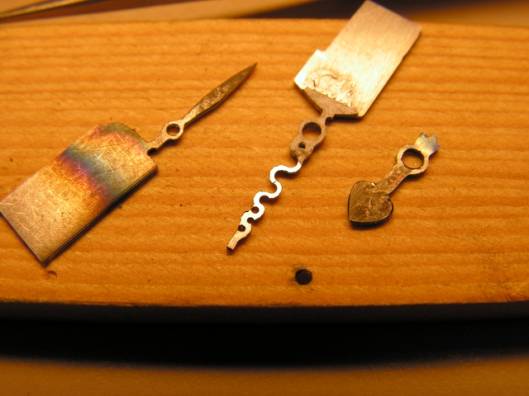
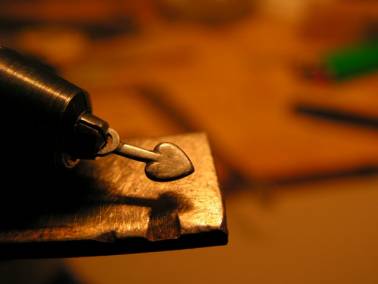
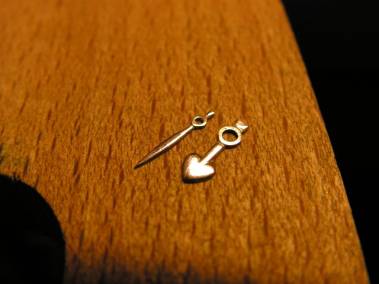
the asthetics, hands, finishing and case. You have seen the hands I would like to
make in the first installment. Personally, I dislike hands that look like
they were simply stamped out of thin stock and then polished. I want my hands
to have depth and body, with a well-rounded front surface. So I am starting
out with 0.5mm carbon steel stock (so I can blue it easily) and will thin
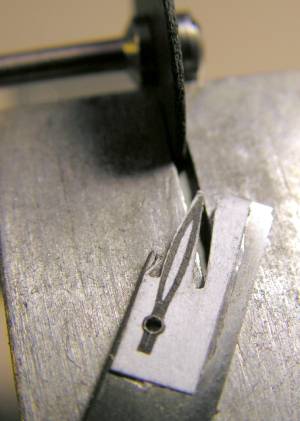
that down. Using the micro cut-off wheel like for the other flat steel parts
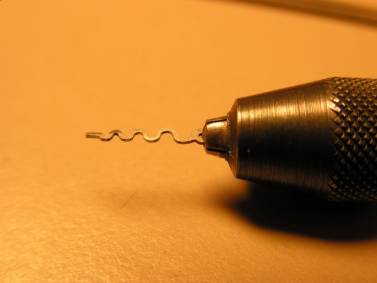
the initial cutting out the hands is not that difficult. Even the second hand
went without big problems; it just needed some planning and drilling to get
the internal curves. I note that proper dressing of the cut-off wheel helps a
lot. To cut into the serpentine of the seconds- hand I dressed the wheel to a
pointed V.
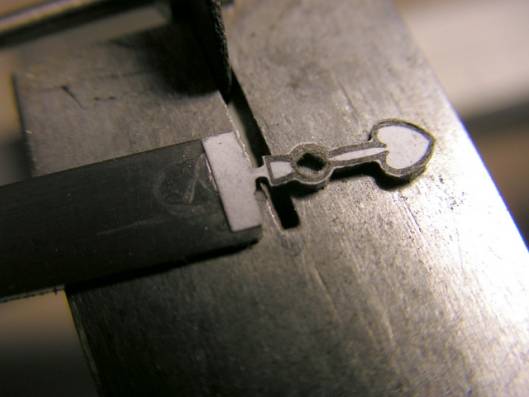
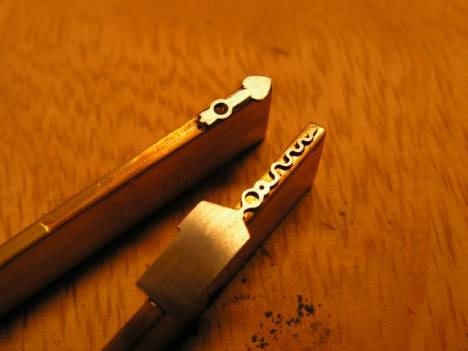
Up ‘til this point things seemed pretty
simple. But now, how to hold the damn things while filing out the final
contours and rounding out the surface? My first attempts of shellacking the hands
to brass pieces to hold them as I worked where a failure. The brass was
always in the way.
This is not the way to do it.
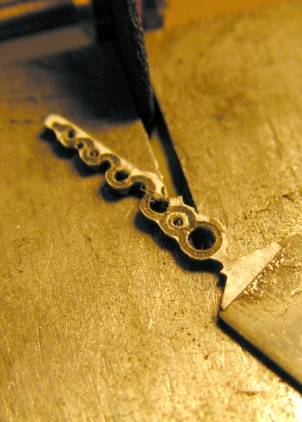
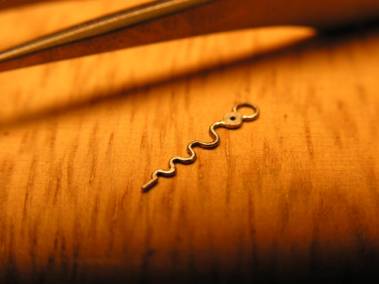
This is where the hands are today, still
waiting for final dressing, polishing and bluing. For this work I have used
the cut-off wheel, fine needle files, a triangular Arkansas stone and a
triangular Degusit file. I did polish some with diamantine on pegwood, but as
you can see, more preliminary work is still needed before the hands are ready
for final polishing and then bluing. But I am busy on other construction sites
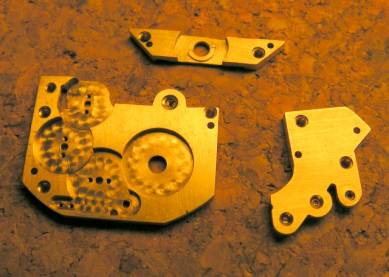
too. I have planned the movement decoration to
be perlage and brushed with polished anglage and countersinks on the bridges.
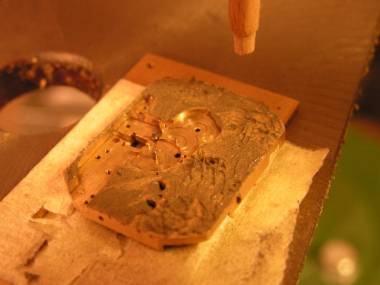
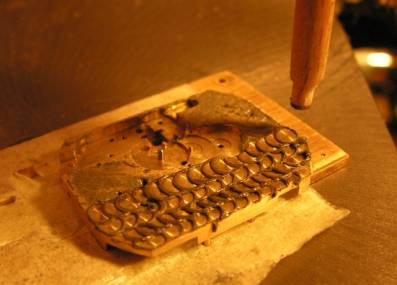
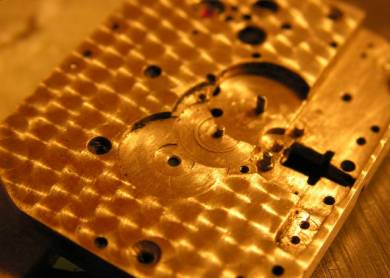
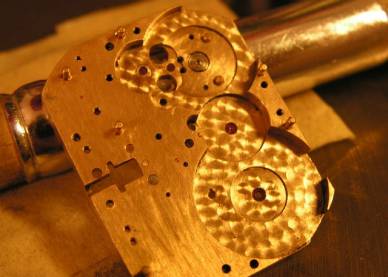
After many attempts with different abrasives and applicators I decide to use
320 grit grinding compound and a wooden dowel to do the perlage. As you can
see this works just fine, but leaves a mess to be cleaned up. I have to
presume that someone doing this on a large scale would use cratex or
something that is dry and allows better vision for placing the spots, if they
aren’t doing it totally under computer control. I found it difficult to see
where to place the next spot and assure the 50% coverage of each spot over
the one before with all the grinding paste in the way.
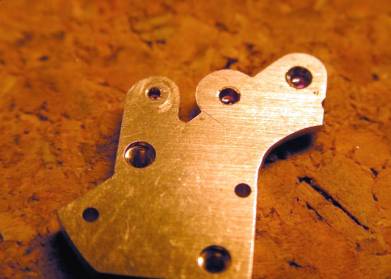
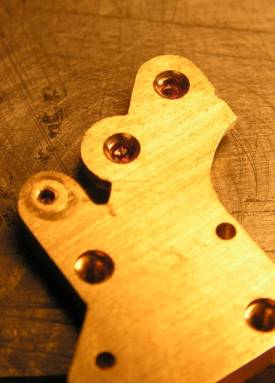
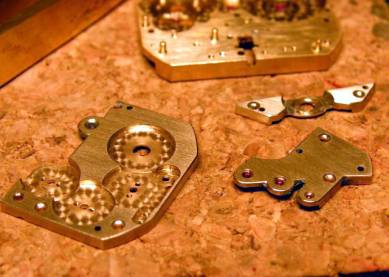
What a little bit of polish can do for
those bevels and countersinks! It is true that this finishing work adds body
and soal to the movement. No more flat and utilitarian brass. These parts are
now ready for nickel/rhodium plating to get their final corrosion resistance
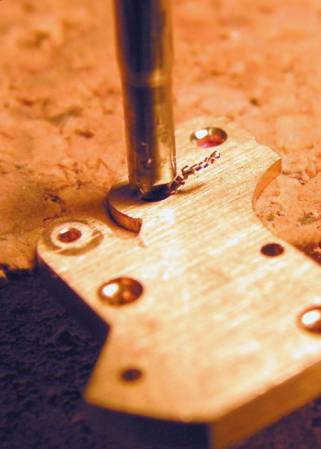
and silver color. That step from no bevels to polished
bevels goes quick and easy in the pictures, but for the three bridges it
actually took about 8 hours. I am down to beveling like this: Leaving out any of these steps leaves
marks that can only be seen individually with a loupe, but are easily seen as
a reduction in the final brilliance of the polish overall. I actually found
the most difficult part to be the roughing and cleaning of the concave edge.
It is very difficult to make that inside curved beveled surface always the
same width and with parallel edges and this piece is not at all perfect. I think that my polishing skills may now
be up to taking on and finishing those hands.
I hope you have enjoyed this, next step
coming soon, Copyright © 2006 Donald W. Corson |